How to Add Site in Google Analytics: A Simple Setup Guide
This article was assisted with AI. We may include links to partners.
Getting your website connected to Google Analytics is one of the first steps for data-driven decisions. In this guide, you will:
- Create a Google Analytics 4 (GA4) account
- Set up a Property for your site
- Install the tracking code
- Verify data flow
Follow each step closely to start tracking visitor activity right away.
Why Connecting Your Site to GA4 Is a Must

Before jumping to the setup, here’s why GA4 matters:
- Identify your top traffic sources (e.g., Instagram vs. paid ads)
- See which pages drive the most engagement
- Make decisions based on real user behavior
Example: An e-commerce store learns Instagram traffic converts at a 3× higher rate than paid ads. That insight guides budget allocation for maximum ROI.
The Power of GA4's Event-Driven Model
GA4 tracks interactions—like button clicks, video plays, and form submissions—as separate events. This gives you a clear picture of how users engage with your site. Over 14.2 million websites have already switched to GA4 for its detailed insights.
Actionable Tip: List the key user actions you want to track (e.g., sign-ups, downloads) before setting up GA4. This helps you configure events that matter most to your goals.
Data privacy is crucial. Review your privacy policy and ensure compliance—learn how at https://blog.soloist.ai/how-to-create-privacy-policy/
Creating Your Google Analytics Account and Property
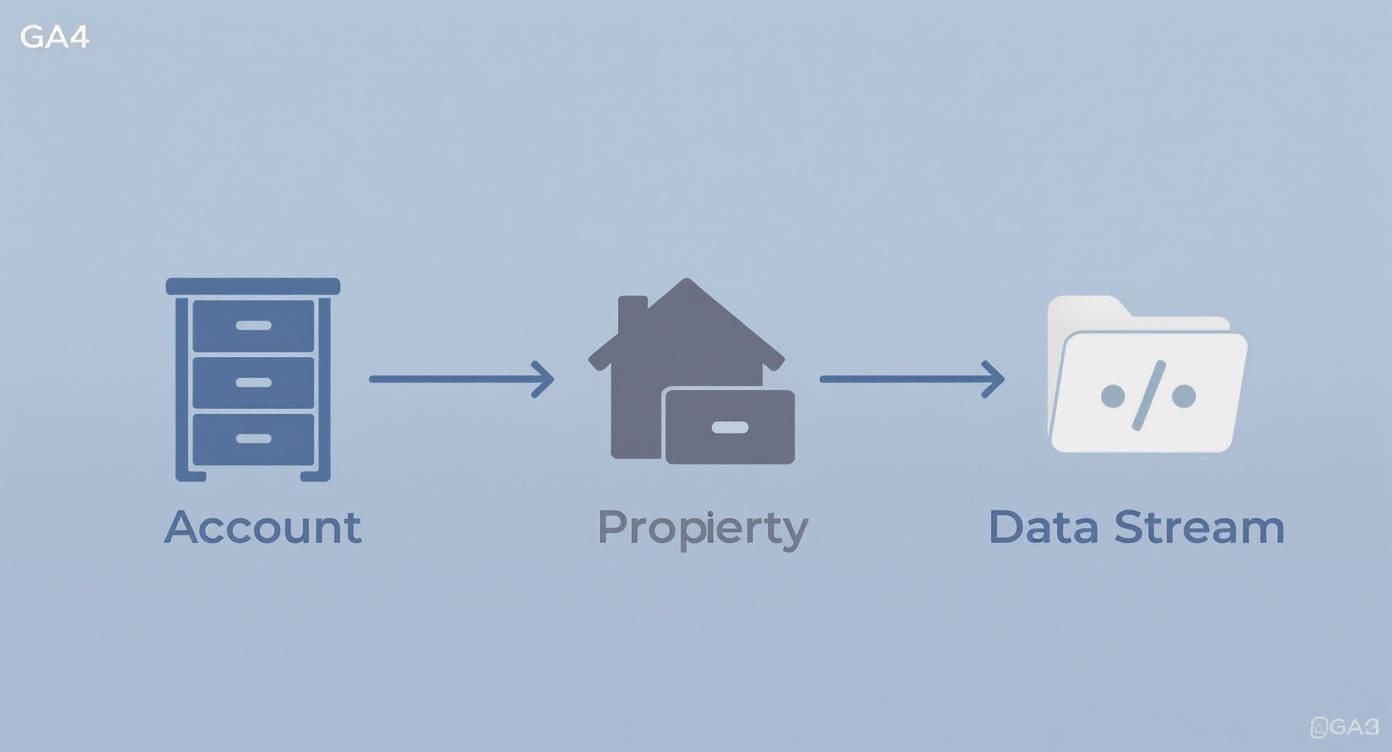
Think of your Google Analytics setup like a filing system:
- Account = your main folder
- Property = one drawer per website
- Data Stream = folder inside the drawer with live data
Action Steps:
- Sign in at analytics.google.com
- Follow the setup wizard to create an Account
- Add a Property for your site
- Set up a Data Stream for web tracking
Actionable Tip: Use clear names like "YourSiteName – GA4" for each Property to avoid confusion.
Setting Up Your GA4 Property
When you create a Property, configure these fields correctly:
- Property Name: Use "[Your Website] – GA4"
- Reporting Time Zone: Match your business or audience location
- Currency: Set to your sales currency if you run an e-commerce site
Actionable Tip: Double-check these settings now—changing them later can disrupt your reports.
Once your Property is ready, you’ll install the tracking tag. GA4 can track over 200 dimensions and metrics for deeper insights. Explore more at Analyzify.
How to Install the Google Analytics Tracking Code
With your account and Property created, it’s time to connect your site to GA4. You’ll install a small tracking snippet—no developer help needed if you follow these steps.

Choosing Your Installation Method
Pick the option that fits your skill level:
- Direct Code (gtag.js)
Pros: Quick for single-site setups.
Cons: Requires editing site code. - Google Tag Manager (GTM)
Pros: Manage all tags in one place.
Cons: Learning curve.
| Method | Best For |
|---|---|
| Direct Code (gtag.js) | Basic sites; fast setup |
| Google Tag Manager | Multiple tags; marketers; code-free tag management |
Actionable Tip: Start with direct code if you only need GA4. Switch to GTM later as your tracking needs grow.
Manually Adding the Global Site Tag
- Go to your GA4 Property > Data Streams > select your stream.
- Click "View tag instructions" and copy the gtag.js snippet.
- In your website's backend, paste the snippet just before
</head>in your header template.
Pro Tip: Backup your header file before editing. A small typo can break your site.
Using Google Tag Manager
- Sign up at Google Tag Manager.
- Install the GTM container code once in your site’s
<head>and<body>. - From the GTM dashboard, add a new GA4 Configuration tag using your Measurement ID (G-XXXXXXXXXX).
Actionable Tip: Use GTM to add other tags (e.g., Facebook Pixel, Hotjar) without touching code.
The Easiest Way: Using Built-in Platform Integrations
If you use Solo AI Website Creator, there’s no coding:
- Copy your GA4 Measurement ID (starts with "G-").
- In Solo AI Website Creator settings, paste the ID into the Google Analytics field.
- Save and publish your site.
Actionable Tip: Check the advanced website tracking guide for more integration tips.
Confirming Your Data Is Flowing Correctly

After installing the tag, verify data in GA4’s Realtime report:
- Open GA4 dashboard > Reports > Realtime
- In a new tab (or on your phone), visit your website
- Look for your visit to appear on the map within 60 seconds
Actionable Tip: Use an incognito window if your visit doesn’t register—ad blockers or caching may interfere.
Troubleshooting Common Connection Issues
If your visit doesn’t show up, check:
- Ad Blockers: Disable or whitelist your site
- Caching: Clear site and browser caches
- Code Placement: Ensure the snippet is in the
<head>section
Actionable Tip: Identify one issue at a time to avoid confusion.
Where to Look First in Your GA4 Reports
Once data flows, start with these essential reports:
- Traffic Acquisition: See which channels (Organic, Direct, Referral) drive traffic
- Engagement: Find your top pages and average engagement time
Actionable Tip: Identify pages with high engagement and create similar content.
Then, set up a basic Conversion goal (e.g., form submission or newsletter signup) to track key actions.
Actionable Tip: Go to Admin > Events > Create event to define your first conversion.
For ideas on improving traffic, see our guide on how to increase website traffic organically.
Common Questions About Adding a Site To GA4
How long until data appears in main reports?
- Realtime: Seconds
- Traffic Acquisition & Engagement: 24–48 hours
Can I track multiple sites in one account?
Yes. Each account supports up to 2,000 Properties.
Actionable Tip: Create a new Property for each website or app to keep data organized.
Why use GA4 instead of Universal Analytics?
GA4’s event-driven model captures modern site interactions. Universal Analytics no longer processes new hits.
Does the tracking code need to be on every page?
Yes. Whether via direct snippet or Google Tag Manager, install it in your global header or template.
For a no-code solution, try Solo AI Website Creator. Launch an SEO-optimized site in minutes and connect Google Analytics with a single click: Solo AI Website Creator.
