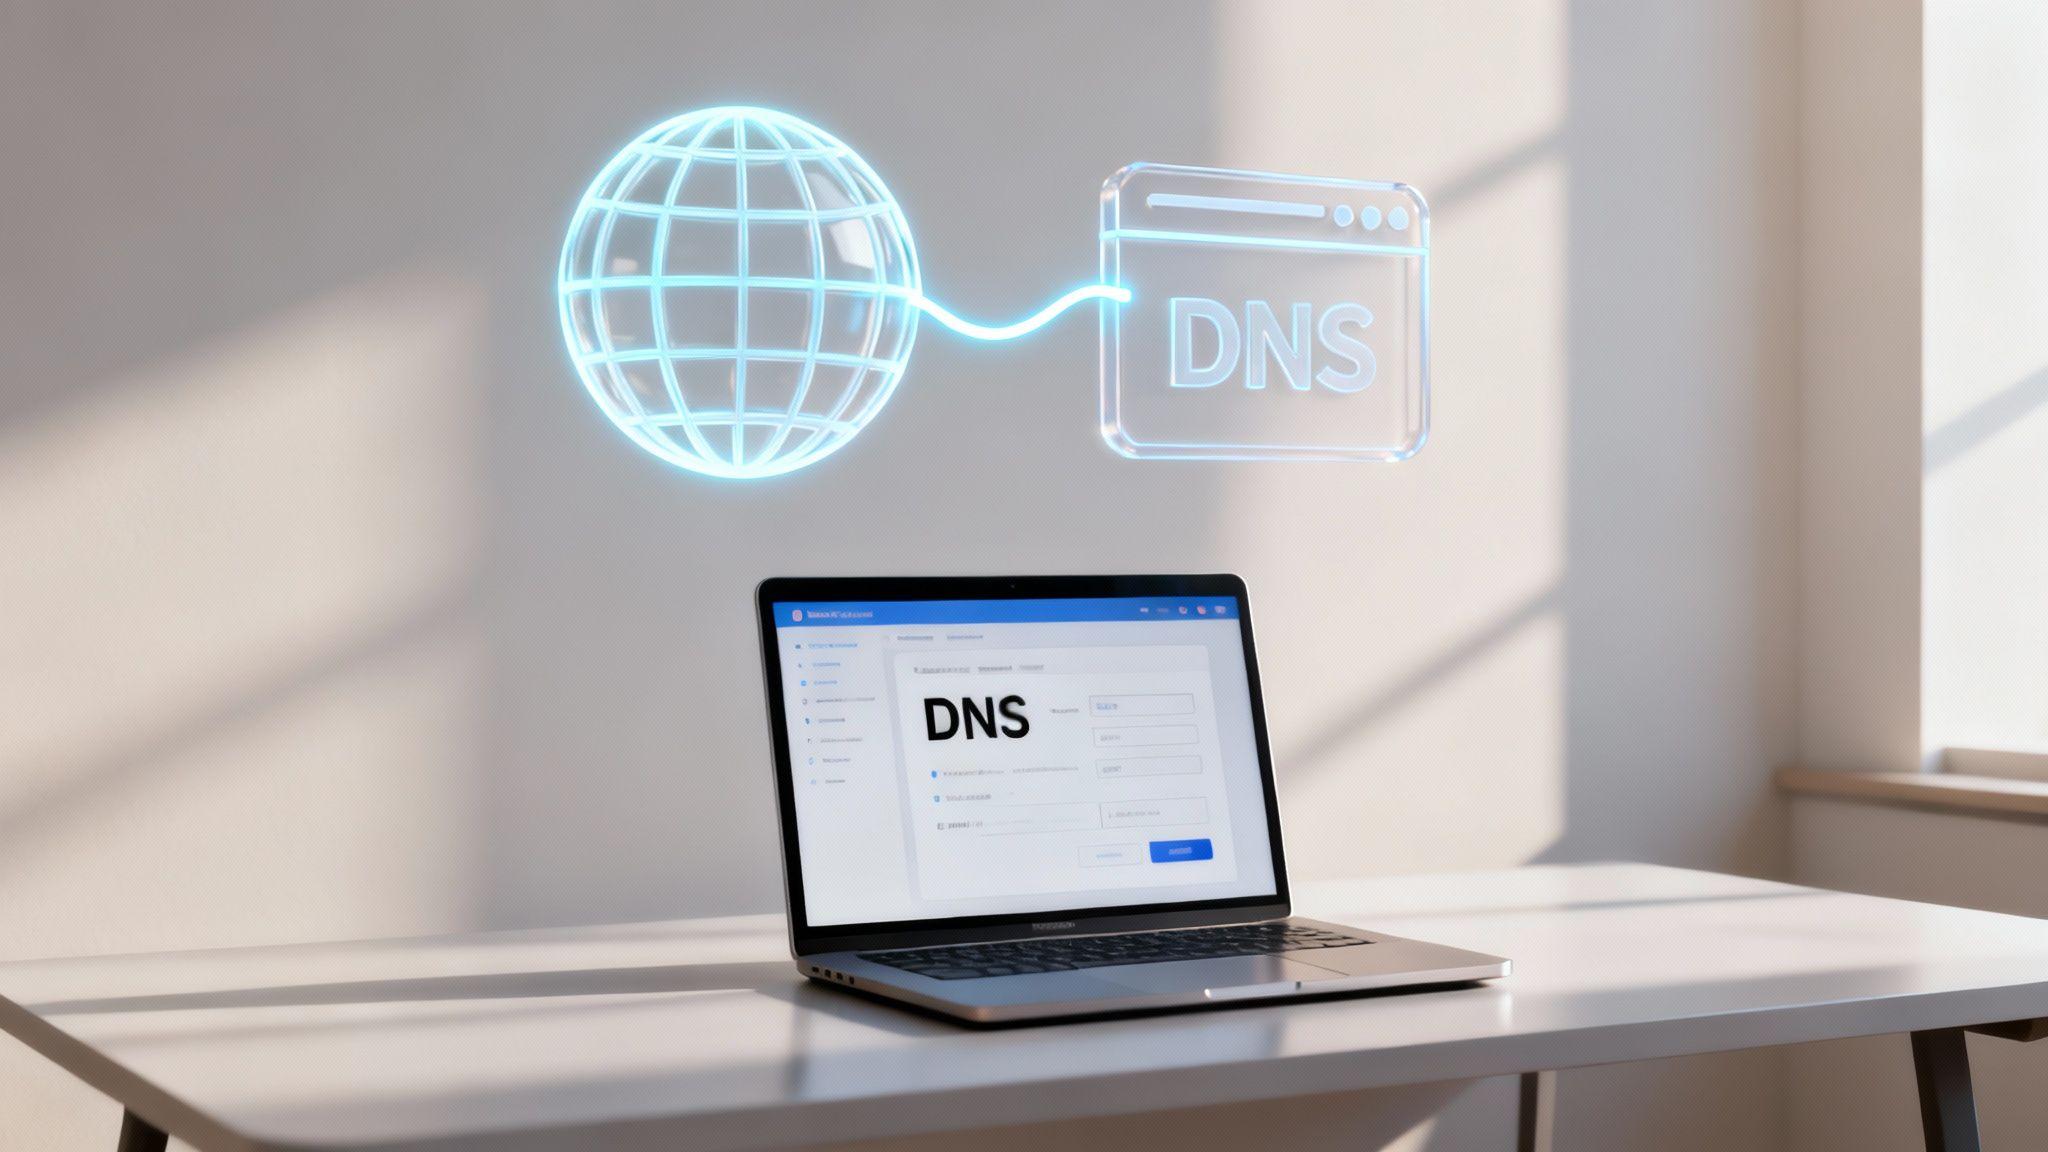
You’ve built a fantastic website with the Solo AI Website Creator, and now you’re ready for the big reveal. The final, crucial step is connecting your own custom domain name. This transforms your project from a site-in-progress to a live, professional presence on the web.
This process simply tells the internet where to find your new website when someone types in your domain. Think of it as putting up the official street sign for your new online home.
Your Guide To Going Live By Connecting Your Domain
This guide cuts through the jargon to show you exactly how to connect your domain to your website. We’ll break down the process into simple, actionable steps that anyone can follow.
Taking this step puts you in good company. In the first quarter of 2025 alone, global domain registrations soared to 368.4 million—a 1.7% jump from the previous year. That’s a whole lot of people launching their ideas online, and you're about to join them.
Why This Connection Matters
Let's stick with the house analogy. You’ve built a beautiful house (your website) on a plot of land provided by your website platform, like the Solo AI Website Creator. Your domain name is its unique street address. Without connecting the two, no one can find you. This process is like officially registering your new address with the global postal service of the internet.
Here's what we'll cover in plain English:
- Core Concepts: We'll explain what DNS, A Records, and Nameservers actually are without the technical headache.
- Two Key Methods: You'll learn the practical difference between changing nameservers and pointing a domain with an A Record, so you can pick the right path for your situation.
- The 'Why' Behind the 'How': Understanding what’s happening in the background will give you the confidence to manage your site's foundation for years to come.
Actionable Tip: By the end of this guide, you won't just be following instructions—you'll understand the 'why' behind them. This knowledge is crucial for managing your online presence effectively.
If you’re just getting started and haven’t secured your domain yet, our guide on how to register a domain is a great place to begin.
Finally, since this is one of the last big steps before launch, it’s the perfect time to run through a complete website launch checklist to make sure everything else is ready.
Ready? Let’s get your site live.
Choose Your Connection Method: Nameservers vs. A Record
You've built your new website with the Solo AI Website Creator, and it's looking sharp. Now for the final piece of the puzzle: connecting your custom domain.
You have two ways to make this connection. The one you pick depends on whether you use your domain for other services, like a custom email address.
Think of the company where you bought your domain (like GoDaddy or Namecheap) as the main switchboard for your online identity. It currently directs all traffic associated with your domain. We're about to give it new instructions for handling your website visitors.
Let's break down your two options so you can choose the right one.
Method 1: Changing Nameservers (The All-in-One Approach)
- What it is: Changing your nameservers is like telling the switchboard, "From now on, forward all my calls to this new office." In this case, the "new office" is your website host (e.g., Solo AI Website Creator). You are handing over the complete management of your domain's instructions (its DNS records) to your website platform.
- Why choose it: This is the simplest, most straightforward route. Once you update your nameservers, your website platform automatically sets up all the necessary records to get your website live. It’s a "set it and forget it" solution.
- The catch: Because you're forwarding everything, this will also affect other services tied to your domain, like a custom email address (
you@yourdomain.com). If you have email set up somewhere else, changing nameservers will break it until you recreate those email records (called MX records) with your new host.
Actionable Tip: Change your nameservers only after you have copied any DNS records you still need, including MX, SPF, DKIM, DMARC, verification, and subdomain records. A nameserver change delegates all DNS management to the new provider.
Method 2: Pointing with an A Record (The Surgical Strike)
- What it is: Using an A Record is more like giving the switchboard a single, specific instruction: "When someone asks for the website, send them to this specific address. Leave all other services—like email—exactly as they are."
- Why choose it: This method gives you more control. If your nameservers still point to your registrar's DNS, you can usually change only the website record, such as an A record for the root domain or a CNAME for
www. Your email and other services keep working only if their existing MX and TXT records remain in place. - The trade-off: This takes a little more hands-on work since you'll be editing the DNS records yourself. But for anyone who already has a custom email address, it’s the best way to avoid disruption.
Making sure you have the right kind of hosting can also influence this choice. For more on that, take a look at our guide on how to choose a web hosting service for some extra context.
Here’s a simple comparison to help you decide.
| Feature | Changing Nameservers | Pointing with an A Record |
|---|---|---|
| Simplicity | High. One change automates the rest. | Medium. Requires editing specific records. |
| Control | Lower. DNS is managed by your website host. | Higher. You keep full control with your registrar. |
| Email Impact | High. Will disrupt existing email services. | None. Your email and other records are unaffected. |
| Best For | New domains or when the website is the only service. | Anyone with an existing custom email or other services. |
Step-by-Step: How to Update Your DNS Records
Alright, let's get your new website live on your own domain. This is the final, crucial step to making your site officially yours.
Step 1: Get Connection Details from Your Website Platform
Before you do anything at your domain registrar, you need the "address" for your new website from your Solo AI Website Creator dashboard. This info tells your domain where to send all your visitors.
Log into your website platform account and find the domain settings.
- For the A Record Method: Look for an IP address. It's a string of numbers like
123.45.67.89. This is the unique address of the server where your site lives. - For the Nameserver Method: You'll find a pair of custom nameservers, which look like
ns1.soloist.aiandns2.soloist.ai.
Actionable Tip: Keep this page open in a browser tab. You will need to copy and paste these values exactly.
This simple action is your entry into a massive digital world. You're joining an ecosystem that's constantly growing, with the total number of registered domains hitting 364.3 million in 2024 and climbing to 368.4 million by the first quarter of 2025.
Step 2: Log into Your Domain Registrar
With your connection details ready, log into the account where you bought your domain (e.g., GoDaddy, Namecheap, Google Domains). This company is your domain registrar.
Every registrar's dashboard looks a little different, but your goal is the same: find a section called "DNS Management," "Manage DNS," or something similar. This is your domain's control panel.
Once inside, you’ll see a list of existing DNS records. Don't be intimidated by the technical terms; this is where you need to be.
Actionable Tip: Before adding new records, delete any old, conflicting ones. Look for an existing A record pointing to a different IP address or a CNAME record for "www" going somewhere else. Removing these prevents traffic routing errors.
Also, remember that the foundation of a good website often starts before this step. For some users, optimizing your WordPress hosting is a critical prerequisite to ensure performance is solid from day one.
Step 3: Add the New DNS Records
Now for the main event: entering the values you copied from your Solo dashboard.
If you’re using the A Record method, add two records:
1. The A Record (for your main domain): This points your core address, like yourdomain.com, to the website server.
- Type: A
- Host/Name: @ (this symbol is a universal shortcut for your main domain)
- Value/Points to: The IP address you copied.
- TTL (Time to Live): Leave this on the default setting (usually "Automatic" or 1 hour).
2. The CNAME Record (for the 'www' version): This ensures people who type www.yourdomain.com still reach your site.
- Type: CNAME
- Host/Name: www
- Value/Points to: Your main domain (e.g.,
yourdomain.com). - TTL: Leave this as the default.
Here’s a standard example of what the CNAME record fields look like.
You can see the separate fields—Host, Value, and TTL—where you'll input the information to direct the 'www' traffic correctly.
CNAME records are handy for more than just the 'www' prefix. As you grow, you might use them for other things. If you're curious, our guide on how to create a subdomain dives into how these records can be used for more advanced setups.
If you’re using the Nameserver method:
This is even simpler. Find the section in your registrar's account for changing nameservers. You'll see the default ones from your registrar listed there. Delete those and replace them with the two custom nameservers you got from the Solo AI Website Creator.
Once you hit save, your work is done. The final part is just waiting for the internet to catch up.
Waiting for Propagation (and How to Check It)
So, you’ve updated your DNS records. You eagerly type your domain into the browser... but the old site is still there, or you see an error.
Don't panic. This is a normal part of the process called DNS propagation.
Think of the internet as a massive, global address book. When you updated your records, you changed your address in that book. Now, that change needs to be sent out to every server across the world. This doesn't happen instantly; it's a waiting period completely out of your hands.
The whole connection process is really just a few key stages: you find your settings, update the records, and then verify the connection. After that, propagation takes over.
This visual simplifies it. Once you've handled the "update" part, the only thing left on your to-do list is to verify it in Solo before the internet's own systems do the rest.
Why Does Propagation Take So Long?
DNS propagation can take anywhere from a few minutes to 48 hours to complete. The actual time depends on your domain registrar and the location of the servers that need the new info. Every Internet Service Provider (ISP) has its own schedule for refreshing its records.
This waiting game is essential for ensuring the 72.6% of .com/.net registrations that go live do so without a hitch, especially considering that 60% of web traffic now comes from mobile devices. Being patient ensures your site loads correctly for every single visitor. You can dig into more of this data in a recent report on the current landscape and key market data for the domain industry.
So if your friend across the country sees the new site before you do, that’s perfectly normal.
How to Check Your Propagation Status
You don't have to wait blindly. You can use free online tools to watch your DNS changes spread across the globe.
Actionable Tip: Go to a site like DNSchecker.org. Enter your domain name, select the record type you updated ('A' or 'CNAME'), and hit search. You'll see a list of countries with a green checkmark (success!) or a red 'X' (still waiting). This gives you peace of mind that it's working.
Whatever you do, avoid making more DNS changes while propagation is in progress. Every time you save a new change, you restart that 48-hour clock.
The Final Step: Verifying in Your Website Platform and Securing Your Site
Once you see mostly green checks on a DNS checker tool, return to your Solo AI Website Creator account to verify the connection.
This final handshake tells our system that your domain is correctly pointing to your website. As soon as you click verify, two important things happen automatically:
- Your website goes live: Our platform makes the official link between your domain and your site content.
- A free SSL certificate is issued: This enables HTTPS and adds the padlock icon to your visitors' browser bars, securing the connection between your site and its visitors.
That SSL certificate is non-negotiable for building trust. Completing this final verification step ensures your site isn't just live, but also secure from day one.
Hitting a Snag? Troubleshooting Your Domain Connection
If you’ve waited for propagation but your site still isn't loading, take a deep breath. Most domain connection problems are common and easy to fix. Here's a methodical checklist.
Problem: "Site Not Found" Error
This generic message means a browser couldn't find your site. Here's how to troubleshoot it.
- Clear your browser cache. Sometimes your own computer is holding onto old data. This is a quick first step that often solves the problem.
- Check for typos. Go back and double-check the IP address or nameservers you copied from the Solo AI Website Creator dashboard. A single wrong digit will break the connection.
- Confirm the 'Host' field is correct. For your A Record, the Host field should be the @ symbol. For your CNAME, it must be www. Using your full domain name here can cause errors.
- Delete conflicting records. Look at your list of DNS records again. Do you see any old A records from a previous web host? You must delete any old, conflicting records so only the new one remains.
Problem: Site Is Live, But Has a Security Warning
This almost always means the SSL certificate didn't install correctly, usually due to timing. Your website platform can only issue the certificate after your domain is fully pointing to its servers. If you tried to verify the connection before DNS propagation finished, the SSL setup failed.
Actionable Tip: The fix is simple. Head back into your Solo AI Website Creator dashboard. You should see an option to re-verify the domain or re-issue the SSL certificate. Click it. This tells the system to try again, and it should now succeed.
Problem: My 'www' Address Is Broken
If yourdomain.com loads but www.yourdomain.com gives an error, your CNAME record is either missing or set up incorrectly.
Go back into your domain registrar's DNS settings. You need a CNAME record that looks exactly like this:
| Record Type | Host / Name | Value / Points To |
|---|---|---|
| CNAME | www | yourdomain.com |
Pay close attention: The "Value" should be the canonical hostname your website platform provides, which may be your root domain or a provider-specific hostname. Do not put an IP address in the CNAME value field. A CNAME is an alias from one hostname to another, and it can be used for subdomains such as www, blog, or shop.
By patiently checking these small but critical details, you can solve nearly any domain connection issue.
Common Questions About Connecting Your Domain
You're at the finish line. Here are a few final questions that often come up.
How Long Does This Actually Take?
The hands-on work of copying and pasting the records takes only 5-10 minutes.
Then comes the waiting period for DNS propagation. While it can officially take up to 48 hours, you will almost always see your new site live within a few hours.
Will This Mess Up My Custom Email?
This depends entirely on the method you chose.
- Changing Nameservers: Yes, this will likely break your custom email (
you@yourdomain.com). To fix it, you'd have to manually copy your email (MX) records over to your new host. - Pointing with an A Record: No, your email will be safe. This method only changes the address for your website, leaving everything else untouched.
Actionable Tip: If you have a professional email set up on your domain, always use the A Record method to prevent service disruption.
What Exactly Is an SSL Certificate?
An SSL certificate provides a secure, encrypted link between your website and your visitors. It’s what gives you "https" in your URL and the padlock icon in the browser bar. It's essential for trust and security. Visitors look for the padlock, and search engines like Google prioritize secure sites.
The good news? Once you connect your domain correctly in the Solo AI Website Creator, we automatically issue and install a free SSL certificate for you.
My Root Domain vs. the "www" Version—What's the Difference?
Your root domain is the clean version, like yourdomain.com. The www.yourdomain.com version is technically a subdomain. Today, they should both just work. A professional setup ensures that no matter which version someone types, they land on your site. That’s why our walkthrough has you create both an A record for the root domain and a CNAME record for the www version. This guarantees a smooth experience for every visitor.
Getting your domain connected properly is your ticket into a massive online world. Web hosting giants enable a staggering number of sites—Netcraft's May 2025 survey counted over 277.5 million unique domains. Keeping that connection live is just as important. The renewal rate for established .com domains is a strong 75.3%, but newer domain types are much lower at 34.2%. A solid connection is the first step to making sure your domain is one that sticks around. You can always discover more insights about the domain name industry on DNIB.
You’ve figured out how to get your domain live. Now, it's time to bring your vision to life with Solo AI Website Creator. You can build and launch a professional website in minutes, absolutely free. Get started today at https://soloist.ai.
Should you use nameservers or an A record to connect your domain?
Use nameservers if your website is the only service tied to the domain and you want the simplest setup. Use an A record if you already rely on other services like custom email, because it points only web traffic to your site and leaves the rest of your DNS records alone.
What DNS records do you need when using the A record method?
Add an A record for the root domain using @ as the host and your website’s IP address as the value. Then add a CNAME for www that points to your main domain so both yourdomain.com and www.yourdomain.com reach the same website.
Why can changing nameservers break your email?
Changing nameservers hands over complete DNS management for the domain to your website host. That means existing email settings, including MX records, stop working until you recreate them with the new DNS provider.
How long does DNS propagation take after you update your records?
DNS propagation can finish in a few minutes, but it may take up to 48 hours. Different providers and servers refresh DNS data on different schedules, so some people may see the new site before others do.
How can you check whether your domain connection is working?
Use a DNS propagation checker and look up the record type you changed, such as A or CNAME, to see whether the new values are appearing globally. Once most locations show the correct records, verify the domain in your website platform to complete the connection and trigger SSL setup.


