Master How to Integrate a Payment Gateway: A Practical Guide
This article was assisted with AI. We may include links to partners.
To get paid online, your website needs to connect to a payment provider. This choice dictates your setup time, security duties, and what your customers experience at checkout. Your decision boils down to two main options: using a hosted checkout page or building a direct API integration.
Choosing Your Payment Gateway Integration Path
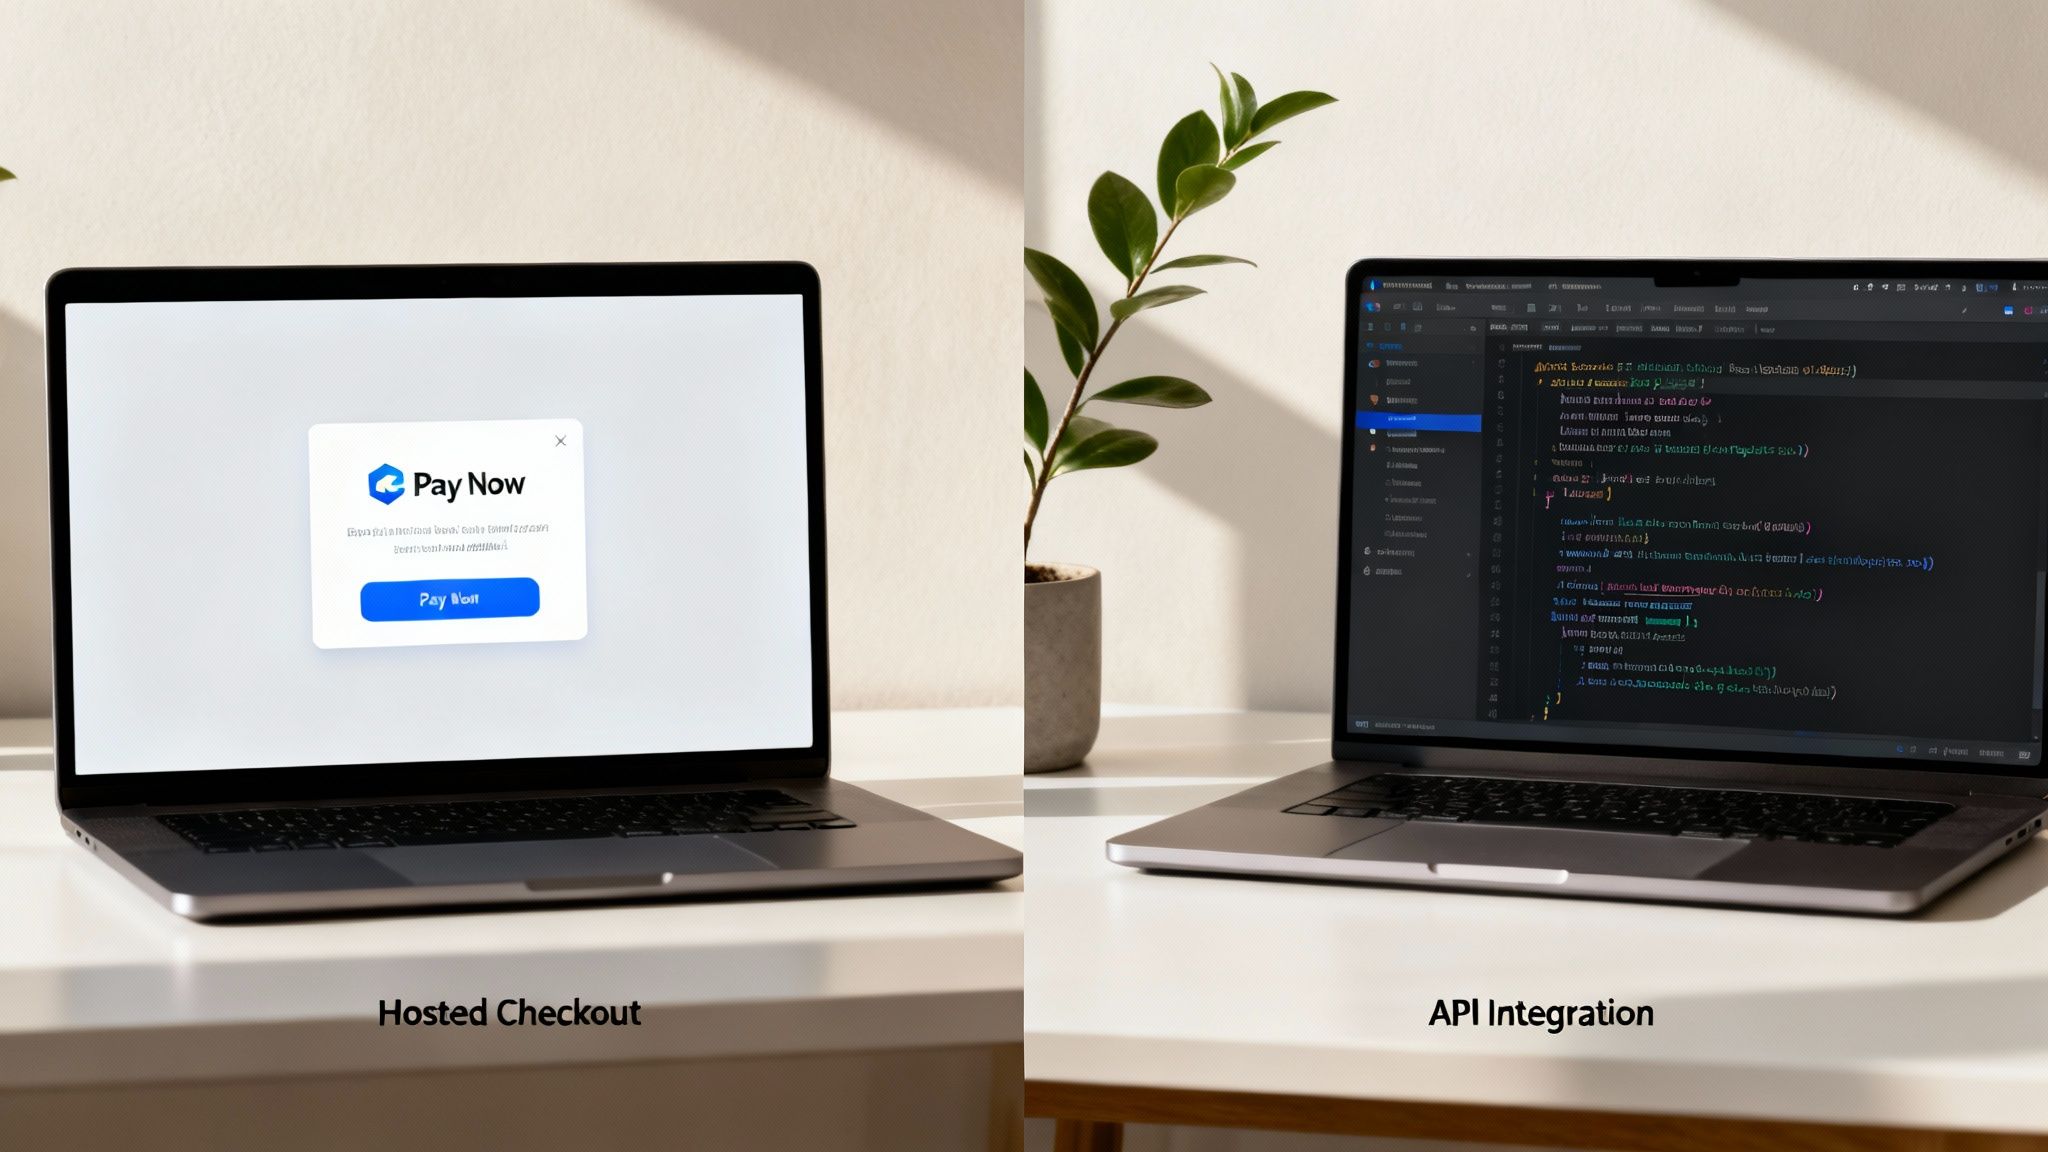
Think of a hosted checkout as a secure, pre-built payment page that your gateway (like Stripe Checkout or PayPal) provides for you. When a customer clicks "Pay," they are briefly redirected to a page controlled by the provider to enter their card details. It's the fastest and most secure route for most small businesses.
A direct API integration, on the other hand, lets you build the entire payment form directly into your website. This gives you total control over the design and ensures the customer never leaves your site, creating a seamless experience.
Hosted Checkout: The Fast and Secure Route
If you are just starting or don't have a developer, a hosted checkout is your best option. The payment provider handles the complex task of collecting and securing sensitive card data on their servers. This significantly reduces your PCI compliance responsibilities and can cut setup time from weeks to just a day.
Actionable Tip: Platforms like the Solo AI Website Creator simplify this further by pre-integrating these hosted checkouts. You just connect your payment provider account, and the secure payment flow is ready—no code required.
API Integration: The Path to Full Control
A direct API integration is for businesses that want to customize every detail of the payment experience. By keeping customers on your domain from start to finish, you create a seamless journey that perfectly matches your brand, which can significantly boost conversions. A smooth, integrated payment form can improve checkout conversions by 5–15% compared to a clunky redirect.
However, this control comes with more responsibility. You are more involved in securing the transaction and managing compliance. Understanding the evolving landscape of e-commerce highlights the importance of making this choice carefully. If you're still deciding on an e-commerce platform, our guide on the best Shopify alternatives can provide valuable insights.
Hosted Checkout vs API Integration at a Glance
This table breaks down the key differences to help you decide which path is right for your business.
| Feature | Hosted Checkout (Redirect) | API Integration (Direct) |
|---|---|---|
| Setup Speed | Fast. Often ready in hours or a few days. | Slower. Requires development work, taking days or weeks. |
| Technical Skill | Low. Minimal to no coding needed. | High. Requires a developer or strong technical knowledge. |
| Cost | Lower upfront cost due to less development. | Higher upfront cost for custom development. |
| Customer Experience | Good. Secure and reliable, but user leaves your site. | Excellent. Seamless, branded experience, never leaves site. |
| Customization | Limited. Some branding options but provider controls UI. | Total Control. You design the entire checkout flow. |
| Security (PCI) | Simple. The provider handles most of the compliance. | Complex. You share more responsibility for securing data. |
Actionable Tip: If you value speed and simplicity over custom design, choose a hosted checkout. If a fully branded, seamless checkout is critical to your business and you have the resources, an API integration is the better choice.
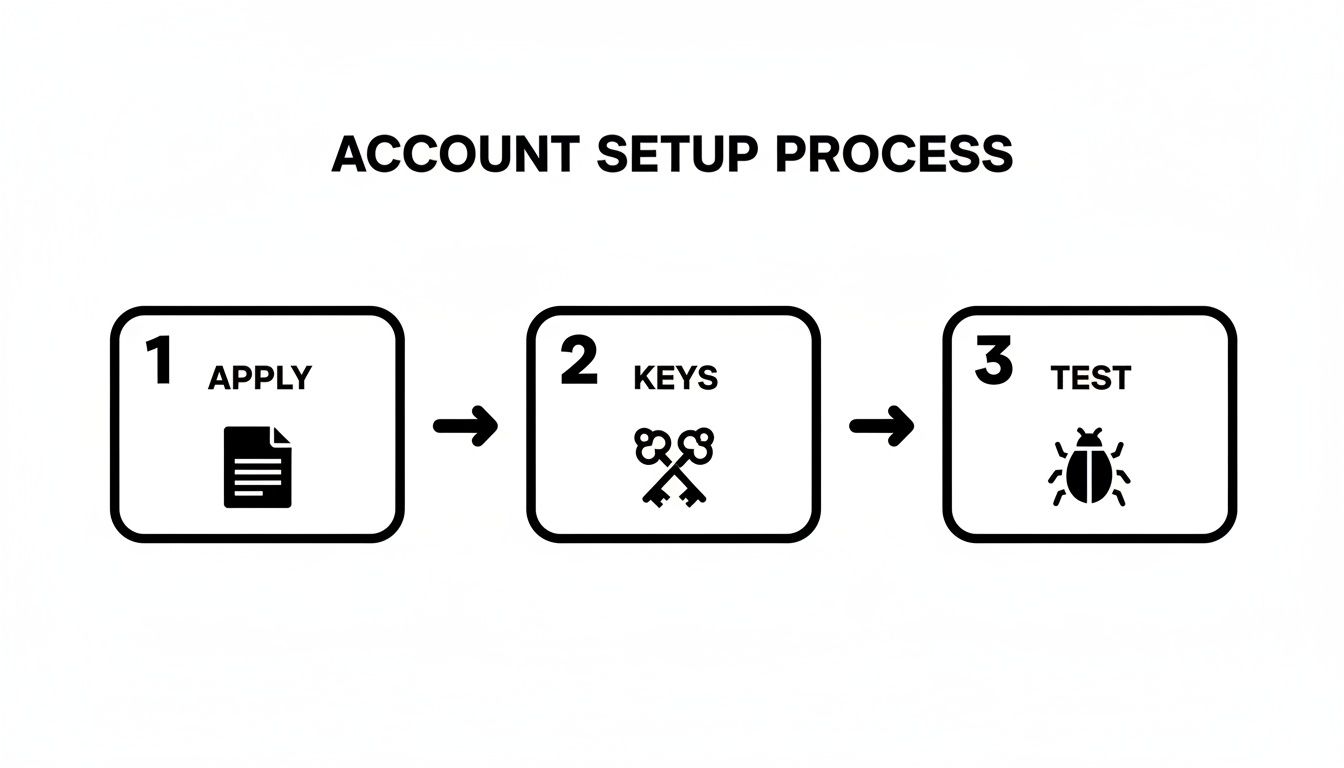
Getting Your Account and API Keys Set Up
Before you can accept payments, you need an approved account with your chosen provider. This process involves verifying that your business is legitimate, a standard procedure known as underwriting.
Have Your Paperwork Ready
To speed up the approval process, gather these documents before you apply:
- Business Details: Your legal business name, address, and tax ID number.
- Ownership Info: Personal details for anyone who owns 25% or more of the company.
- Bank Account: The routing and account number where you want payouts sent.
- Your Website URL: The provider will review your live site to see what you sell.
Approval can be instant or take a few days. Once approved, you can access your API keys from the provider's dashboard.
Making Sense of Your API Keys
API keys are like secure passwords that let your website communicate with the payment gateway. You will receive two types of keys, and it's critical to use them correctly.
Actionable Tip: Treat your secret API key like the master key to your business bank account. Never share it publicly, commit it to a public code repository, or send it via email. Store it securely as an environment variable on your server.
Here are the two keys you'll work with:
- Public Key (or Publishable Key): This key is safe to use in your website's frontend code (the part users see). It identifies your account and converts payment details into a secure token, but it cannot authorize a charge.
- Secret Key: This key is for your backend (server-side) code only. It performs sensitive actions like processing payments and issuing refunds.
If you’re a Solo AI Website Creator user, you simply copy and paste these keys into your payment settings. The platform handles the secure backend communication automatically. For those exploring other payment options, this article on the top stablecoin payment APIs for seamless integration offers additional insights.
Your Sandbox: A Safe Place to Play
Every reputable payment provider offers a "sandbox" or "test mode." This is a duplicate of the live payment environment where you can experiment without processing real money. You'll get a separate set of test API keys to run simulated transactions, test your checkout flow, and ensure everything works perfectly before going live.
Building Your Payment Flow From Front to Back
With your account approved and API keys in hand, it's time to connect your website's frontend (what the customer sees) to the backend (the server that processes the payment). The goal is to collect payment details without sensitive information, like a full credit card number, ever touching your own server. This approach dramatically reduces your security and PCI compliance responsibilities.
The Frontend: Your Customer's Experience
The "frontend" is everything a customer interacts with on your site. Instead of building your own insecure credit card form, you'll use secure, pre-built components provided by your payment gateway. These are often called "Elements" ([Stripe]) or a "Drop-in UI." Think of them as secure input fields hosted by the provider that you place on your checkout page.
When a customer enters their card number, the data is sent directly to the payment gateway's secure servers, bypassing your own. In return, your website receives a secure, one-time-use token. This token represents the card details and is useless to a hacker.
The Backend: The Secure Handshake
Once you have the token, your website's backend—the server-side code—takes over. This is where your secret API key comes into play.
Your server sends a request to the payment gateway's API containing two pieces of information:
- The secure token from the frontend.
- Your secret API key, which proves you have permission to make a charge.
The gateway matches the token to the stored card details, processes the transaction, and sends back a simple "success" or "failure" message. Your server then displays a confirmation page or asks the customer to try another card.
Actionable Tip: Remember the division of labor: the frontend’s job is to get a secure token. The backend’s job is to use that token and your secret key to authorize the payment.
The Easy Button for Solo AI Website Creator Users
If talk of frontends and backends is overwhelming, platforms like the Solo AI Website Creator handle this for you. The entire secure payment flow is already built-in.
Your only task is to navigate to the payment settings in your dashboard and paste in the API keys from your provider. The platform manages the tokenization, secure API calls, and customer notifications automatically. Service businesses can also benefit from an integrated booking system for small business that works seamlessly with the payment setup, allowing you to accept payments in minutes.
Securing Transactions with Webhooks and Compliance
What happens if a customer sees a "payment successful" message but closes their browser before your server gets the confirmation? Relying on the customer's browser is unreliable. This is why we use webhooks.
A webhook is an automated message sent directly from your payment gateway's server to your server. It serves as the official, behind-the-scenes confirmation of an event, such as a successful payment, a failed charge, or a refund. This server-to-server communication is far more reliable and ensures your system accurately records every transaction.
Understanding Your Security Responsibilities
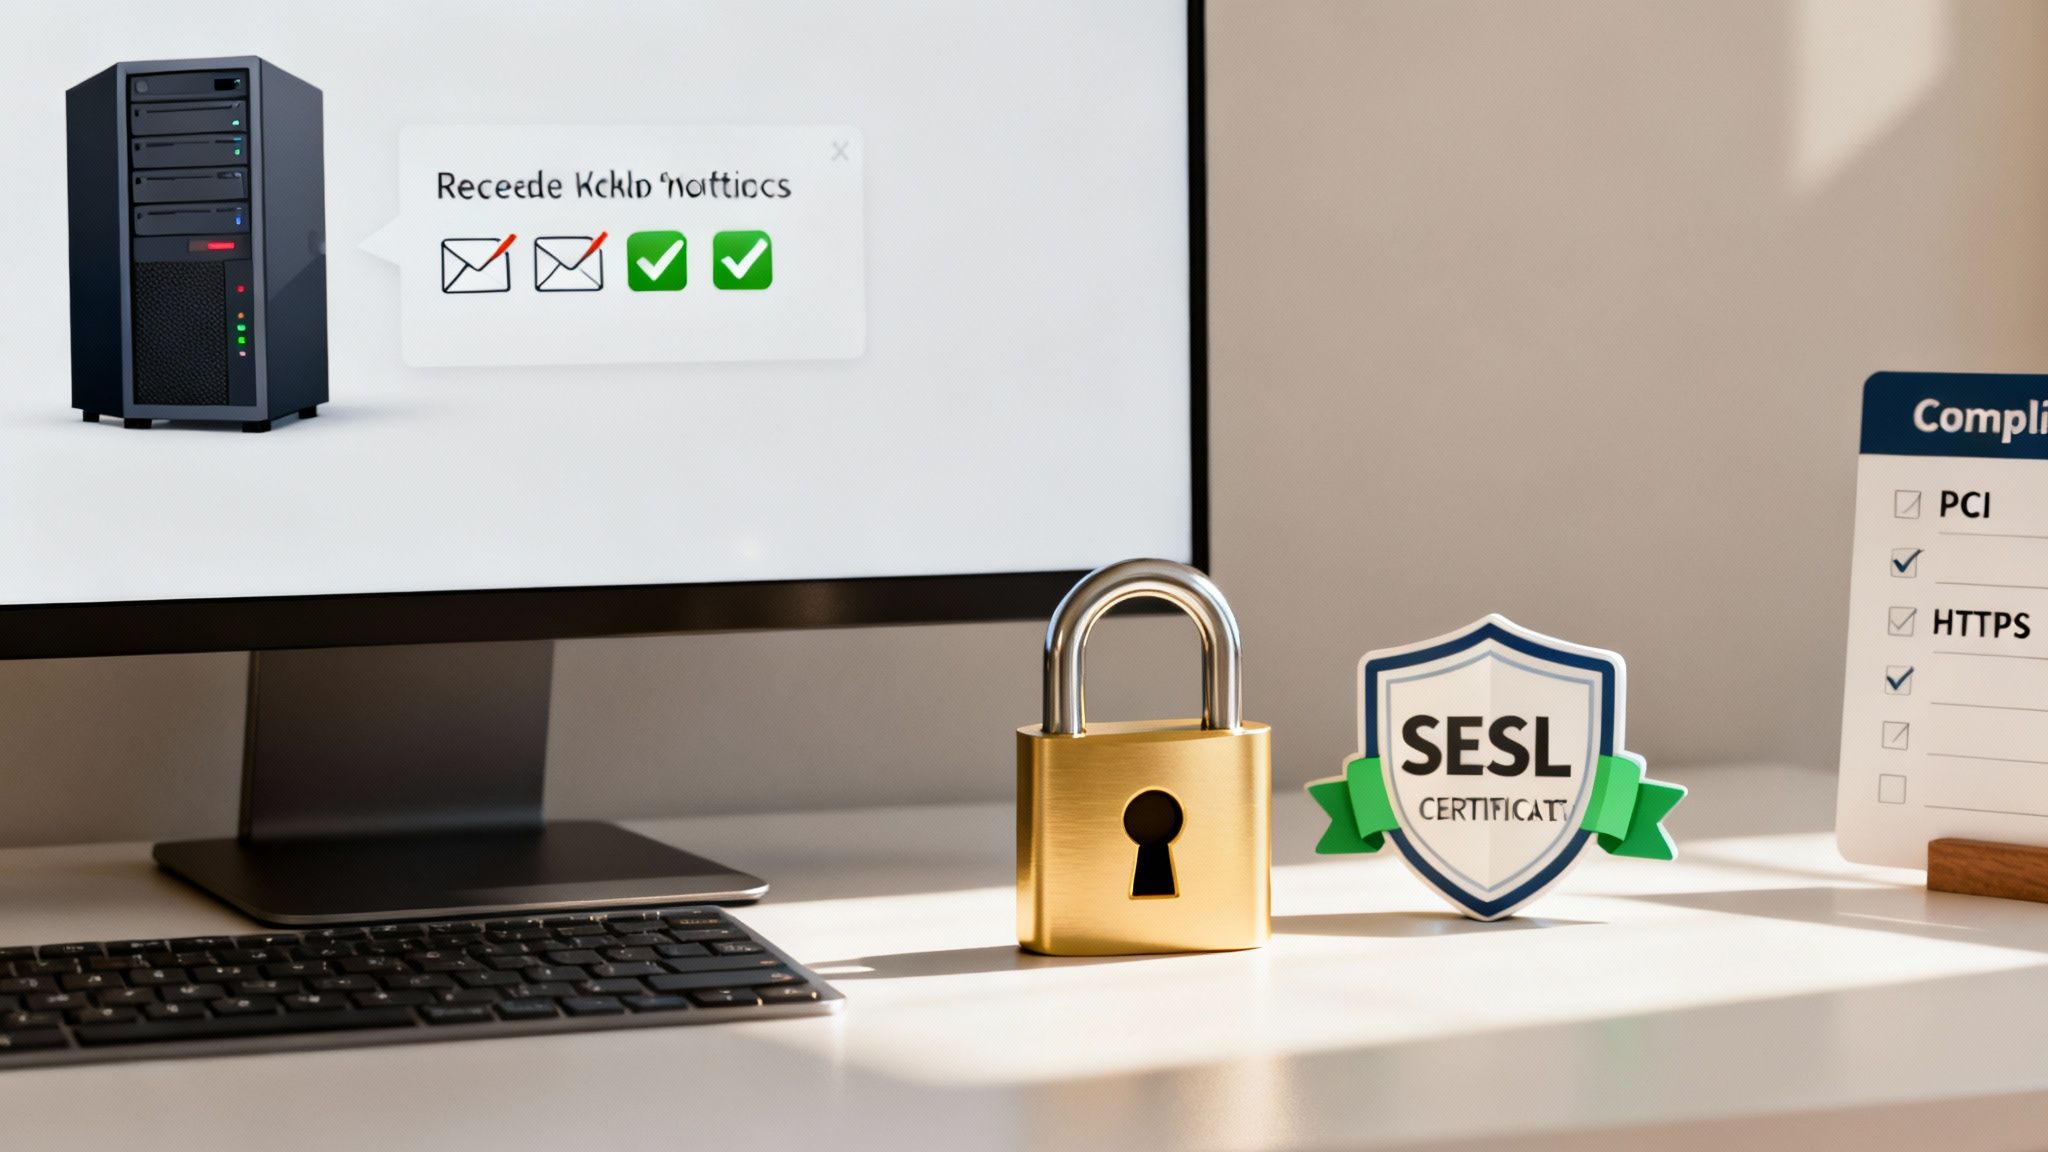
Beyond confirmations, you must adhere to fundamental security standards, primarily PCI-DSS compliance and having an SSL certificate. These are essential for protecting your customers and your business.
Security requirements can influence your choice of gateway. For example, many European transactions require 3-D Secure authentication. Globally, PCI-DSS is the baseline. To simplify compliance, 70–85% of small merchants adopt solutions like tokenization or hosted fields.
Actionable Tip: Use a modern integration where the payment provider handles card data directly. This is the single best way to reduce your PCI compliance scope, as it offloads the heaviest security burdens to the experts. Platforms like the Solo AI Website Creator are built to manage this for you.
Why HTTPS Is Non-Negotiable
The padlock icon in a browser's address bar indicates that a site is secured with an SSL certificate, enabling an encrypted (HTTPS) connection. For any website handling payments, this is mandatory. An SSL certificate encrypts data transmitted between a customer's browser and your server, making it unreadable to attackers.
Here's why you need it:
- Trust: A missing padlock is a major red flag that will cause customers to abandon their carts.
- Security: Data encryption is a core requirement for PCI compliance.
- Search Rankings: Google prioritizes secure websites, so using HTTPS can improve your SEO.
Modern platforms like the Solo AI Website Creator automatically provide and manage SSL certificates for you.
Testing Your Setup Before Going Live
Before accepting a real payment, you must thoroughly test your entire checkout process in your payment gateway's "sandbox" or "test mode." This is a critical step. The sandbox is a perfect replica of the live payment environment that uses fake money. Your provider will give you test API keys and a list of special test credit card numbers to simulate every possible scenario.
Simulating Real-World Scenarios
Your goal is to try to break your system to find any weaknesses before customers do.
Actionable Tip: Create a testing checklist that includes these scenarios:
- Successful Payment: Use a valid test card to ensure the transaction completes, the customer sees a confirmation page, and you receive the correct notification.
- Card Decline: Use a test card designed to be declined. Check that your website provides a clear, helpful error message.
- Security Challenge (3-D Secure): Use a test card that triggers a security verification pop-up. Ensure your checkout handles this extra step without errors.
- Different Card Types: Test with Visa, Mastercard, Amex, and any other card brands you plan to accept.
Your sandbox tests should confirm the entire workflow. When a test payment succeeds, does it trigger the correct confirmation email? Does the order appear correctly in your system?
The Go-Live Checklist
Once you are confident in your testing, you can go live. This usually involves swapping your test API keys for your live API keys in your website’s settings. In the Solo AI Website Creator, this is as simple as pasting the new live keys into the payment integration field.
Performance is critical. Top payment gateways offer 99.99% uptime and process transactions in under 500 milliseconds. Every 100-millisecond delay at checkout can reduce conversions. Data shows how deeply performance metrics influence gateway choice.
Actionable Tip: After going live, monitor your first few real transactions closely. Log into your gateway's dashboard to confirm that payments are processed successfully and that the funds are scheduled for deposit into your bank account.
Still Have Questions About Payment Gateways?
It's normal to have questions when setting up payment gateways. Here are answers to some common queries.
What’s the Real Difference Between a Payment Gateway and a Payment Processor?
Think of it this way: the payment gateway is the secure card reader on your website. It captures payment details and safely transmits them for processing. The payment processor works behind the scenes, communicating with banks (like Visa and Mastercard) to verify funds and move the money from the customer's account to yours.
Fortunately, most modern providers like Stripe and PayPal bundle both services, so you only have to work with one company.
So, How Much Is This Going to Cost Me?
Costs typically fall into two categories: setup and ongoing fees.
- Integration Costs: This can be zero. Platforms like the Solo AI Website Creator include pre-built integrations. For a custom-coded site, you may need to hire a developer, which can cost from a few hundred to several thousand dollars.
- Ongoing Transaction Fees: Most providers charge a percentage plus a flat fee per transaction, with 2.9% + $0.30 being a common rate. Be aware of other potential costs, such as monthly fees, setup charges, or higher rates for international sales.
Do I Really Need to Worry About PCI Compliance?
Yes. Any business that handles card information must comply with the Payment Card Industry Data Security Standard (PCI-DSS). However, your level of responsibility can vary greatly.
By using a modern payment gateway's pre-built checkout pages or secure fields (a process called tokenization), the most sensitive data never touches your server. This drastically simplifies your PCI compliance obligations.
What Are the Most Common Stumbling Blocks During Integration?
Most integration problems arise from simple errors. The most common mistakes include mixing up API keys (using test keys on a live site or vice-versa), server configurations that block communication with the gateway, and improperly configured webhooks.
Actionable Tip: The best way to avoid these issues is to follow your provider's documentation carefully and test every scenario in sandbox mode. This helps you catch problems before they affect a real customer.
Ready to get your business online without getting bogged down in the technical details? With the Solo AI Website Creator, you can build a professional site with a secure, fully integrated payment system in minutes. Get started for free and start selling today.