Setting up your business to accept money online comes down to a few key actions: choosing a payment provider, setting up your account, connecting it to your website, and running a final test before launch. Think of this as building the digital cash register that lets you get paid for your work.
Why Your Business Needs Online Payments

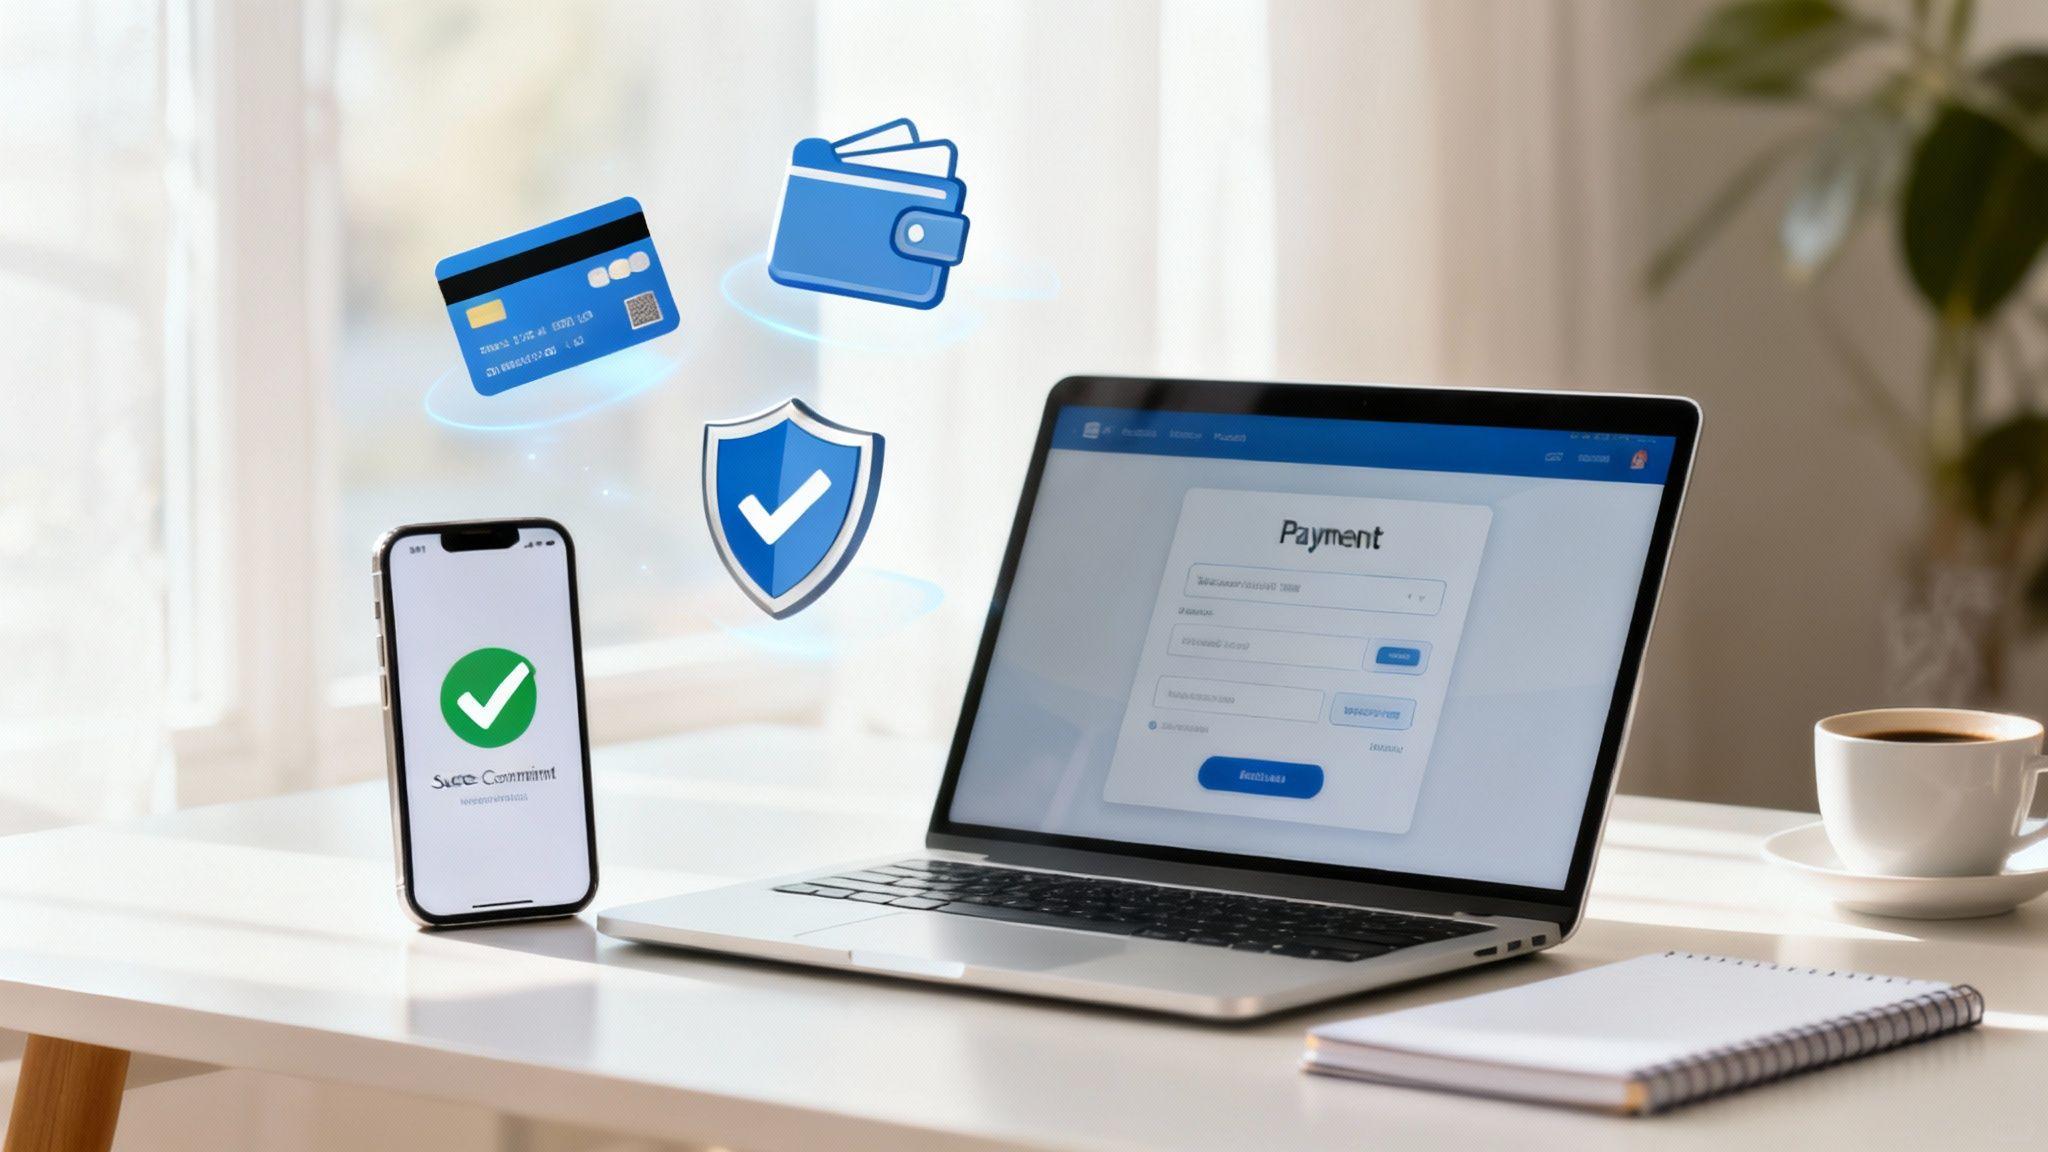
You've launched your new website. Now for the most important question: how do you turn clicks into cash? The answer is by setting up online payments. This isn't just a nice feature anymore; it's essential for growth. Accepting payments on your site instantly transforms it from a digital brochure into a revenue-generating tool.
This is about meeting your customers' expectations. People today expect a fast, easy way to pay. If they have to call you or mail a check, you're creating friction—and that friction can lose you the sale.
Imagine you've built a professional site for your freelance business using the Solo AI Website Creator. A client books a service and pays their deposit online while you're away from your desk. That’s the power of digital payments. The market is projected to grow by USD 304.95 billion by 2029, with an annual growth rate of 25.5%. This is driven by a 25% year-over-year jump in digital transaction volumes, making online payments a must-have for any business. You can explore more about these trends and what they mean for the market.
The Two Key Parts of an Online Transaction
To understand how online payments work, you only need to know two key components: payment gateways and merchant accounts.
A payment gateway is the digital version of a credit card terminal. It's the secure technology that captures payment details on your site and sends them to the payment network for approval.
A merchant account is a special bank account where the money is held after a successful transaction. The funds sit here before being transferred to your regular business bank account.
Actionable Tip: Modern payment providers like Stripe or PayPal combine both the gateway and merchant account into one service. This is a huge advantage for small businesses, as you don't have to set them up separately.
Benefits Beyond Just Making a Sale
The advantages of accepting online payments go far beyond convenience. A solid payment system directly impacts your business's financial health and professional image.
- Improved Cash Flow: You get paid faster. Instead of waiting for a check to clear, online payments typically arrive in your account within a few business days.
- Increased Sales: By making it easy to buy, you remove barriers that cause potential customers to hesitate. This is crucial for booking services or selling products on the spot.
- Enhanced Professionalism: A secure, professional checkout process shows customers you're a legitimate business they can trust.
For anyone using a platform like the Solo AI Website Creator, integrating online payments is the final step that connects your services and customer interactions directly to your revenue.
How to Choose the Right Payment Provider
Choosing a payment provider can feel overwhelming. The goal is to find one that fits your business without causing problems later. It’s about more than just the lowest fee; you need to consider how it works with your website, what your customers prefer, and the total cost.
Look Beyond the Percentage Fee
Most people focus on the transaction fee, which is usually a percentage plus a fixed amount (like 2.9% + $0.30). But that's just one part of the cost. You need to look for other fees.
Here are some other costs to watch for:
- Monthly Fees: Some providers charge a flat monthly fee regardless of your sales volume. For a new business, this can be a deal-breaker.
- Chargeback Fees: If a customer disputes a charge, your provider will likely charge you a fee of $15-$25 per incident, even if you win the dispute.
- Payout Speed: How quickly does the money reach your bank account? Some offer instant payouts for an extra fee, while standard transfers take two or three days. This can impact your cash flow.
Actionable Tip: A freelancer with a few monthly invoices should look for a provider with no monthly fees. An e-commerce store with daily sales might save money with a provider that has a small monthly fee but a lower transaction rate.
Make It Easy for Your Customers to Pay
The best payment system is useless if your customers can’t use their preferred payment method. You need to know your audience.
Imagine your restaurant's website, built with the Solo AI Website Creator, allows customers to book tables and pay for takeout smoothly. This experience taps into the growing trend of digital wallets, which are expected to have 4.8 billion users by 2025—nearly 60% of the world's population.
With a platform like the Solo AI Website Creator, you can easily integrate popular options like Apple Pay, Google Pay, and PayPal.
Actionable Tip: Don't guess what your customers want. Send a one-question survey to your existing customers asking for their preferred online payment method. Their answers can make your decision much easier.
How Well Does It Connect with Your Website?
Your payment provider must integrate smoothly with your website. A confusing integration can lead to a frustrating checkout experience and lost sales. For more on this, you can check out our guide on the best website creator for an online store.
Fortunately, platforms like the Solo AI Website Creator offer direct integrations with major payment providers. Setting it up is often as simple as copying and pasting special codes called "API keys" that allow your website to communicate securely with the payment provider.
A Quick Comparison of Top Providers
Let’s compare three of the most popular providers for small businesses: Stripe, PayPal, and Square. Each is suited for different needs. For more detailed reviews, you can check resources like payments-experts.com.
Comparing Top Payment Providers for Small Businesses
| Feature | Stripe | PayPal | Square |
|---|---|---|---|
| Best For | Businesses that need customization, like e-commerce stores and service providers. | New businesses, freelancers, and anyone wanting a widely trusted brand. | Businesses with both online and in-person sales, like cafes or retail shops. |
| Integration | Very flexible with powerful tools for developers. Integrates with most platforms. | Very simple setup with "Buy Now" buttons that can be added to any site. | Excellent for syncing online and in-person sales and inventory. |
| Key Strength | Unmatched customization and tools for subscriptions, invoicing, and more. | High brand recognition and trust; millions of people already have accounts. | A single system for managing all sales, whether online or in-person. |
Choosing the right provider means balancing transaction fees, features, customer convenience, and ease of integration. By thinking through these points, you can find a partner that helps your business grow.
Setting Up Your Payment Account Step by Step
You've chosen your payment provider. Now it's time to create your account. This step can feel like paperwork, but getting it right from the start will save you from major issues later. The provider needs to verify your identity and confirm that you're running a legitimate business to comply with financial regulations and prevent fraud.
If you plan to sell internationally, having a reliable business account for international payments is essential for receiving your money.
Gather Your Business Information
Before you start the sign-up process, collect all your necessary documents. Having everything ready will make the application much smoother. A single mistake can trigger a manual review, which can delay your account setup by days or even weeks.
Here’s a checklist of what you'll likely need:
- Business Details: Your legal business name, address, and phone number. This must match your official business registration documents exactly.
- Employer Identification Number (EIN): For U.S.-based businesses, this is your federal tax ID. Sole proprietors can often use their Social Security Number (SSN).
- Bank Account Information: The routing and account numbers for the business bank account where you want to receive payouts.
- Personal Information: As the business owner, you'll need to provide your full name, date of birth, and possibly the last four digits of your SSN for identity verification.
Actionable Tip: Double-check every field before submitting. A common error is a small mismatch between the business address on your registration and the one you enter online. This is a top reason for account verification delays.
This flowchart breaks down the decision-making process into three key areas: fees, integration, and payment methods.

Get these three right, and you'll find a provider that is a great fit for your business.
Merchant Account vs. Payment Gateway Explained
Let's simplify the technical terms.
Imagine a retail store. The payment gateway is the credit card terminal that communicates with the bank to get the transaction approved.
The merchant account is the business's special bank account where the money from that sale is held before being transferred to their main business account.
Modern providers like Stripe, PayPal, and Square bundle these two services together. They are often called payment service providers (PSPs) because they handle the entire process. This simplifies things for small businesses, as you only need to sign up for one service.
Navigating the Verification Process
After you submit your application, the provider will verify your information. This is often an automated process that takes just a few minutes. However, if any information seems incorrect, your application will be sent for a manual review, which can cause delays.
Actionable Tip: To speed up approval, be very clear when describing your business. For example, if you are a consultant, describe your services as "business consulting services" instead of something vague like "professional services." The more specific you are, the faster your account will be approved.
Connecting Your Website and Payment Provider

Your payment account is approved. Now it’s time to connect it to your website so you can start getting paid. This step turns your website into a tool that generates revenue for you 24/7. While it may sound technical, modern website creators have made this process simple, and you usually won't need to write any code.
The connection relies on something called API keys. Think of them as a secure password that allows your website and payment provider to communicate. They are unique codes that prove your website has permission to process payments through your account.
First, Get Your API Keys
You can find your API keys in your payment provider's account dashboard. Log in and look for a section labeled "Developers" or "API Keys" in your settings.
You will typically find two types of keys:
- The Publishable Key: This key is safe to use on the public-facing part of your site. It identifies your account when a customer starts the checkout process.
- The Secret Key: This key must be kept private. It stays on the backend of your website and is used to authorize transactions. Never share this key publicly.
Your website platform will have a designated area in its settings to paste these two keys. Once you save them, the connection is complete.
Connecting Payments to the Solo AI Website Creator
If you use the Solo AI Website Creator, the integration process is built directly into the platform. It's designed to be simple, turning your site into an automated payment tool. The system connects payments directly to features like booking calendars and contact forms.
For example, a consultant can set up a booking page where a client selects a time and pays for the session in a single step. This eliminates friction and makes it easier to get paid.
The Solo AI Website Creator guides you through the process. It will prompt you to connect your Stripe or PayPal account, ask for your API keys, and then allow you to enable payments on your booking forms. The platform handles the technical details, which is a major benefit for freelancers and small business owners who need to set up online payments without technical headaches.
Actionable Tip: The direct link between an action (like booking a call) and payment is a powerful feature. When a customer can complete everything in one step, you reduce the chances of them abandoning the process.
What About WordPress or Shopify?
If you're using a different platform, the process is also straightforward.
WordPress with WooCommerce:
WooCommerce is the most popular e-commerce plugin for WordPress. To connect it, you install the official plugin for your payment provider (e.g., "Stripe for WooCommerce"). Then, in your WooCommerce settings, go to the "Payments" tab, enable your chosen gateway, and paste in your API keys.
Shopify:
Shopify makes integration simple with its own processor, Shopify Payments (powered by Stripe), but it also supports many other payment gateways. You can configure them under Settings > Payments in your Shopify admin panel.
No matter which platform you use, the core concept is the same: use a secure integration to connect your website and payment provider with your API keys. You can learn more about how to integrate a payment gateway to understand the technical details.
Understanding Payment Security and PCI Compliance

When you accept online payments, you are responsible for handling sensitive customer data. Security is the foundation of trust.
You will often hear the term PCI Compliance, which stands for Payment Card Industry Data Security Standard. It's a set of security rules created by major credit card companies to ensure that any business handling card information does so securely.
The good news is that you don't need to be a cybersecurity expert. When you use a major payment provider like Stripe or PayPal, they handle most of the PCI compliance requirements for you. Your customer's credit card data never touches your website's server, which greatly simplifies your security responsibilities.
Your Role in Maintaining a Secure Checkout
Even with a secure payment provider, you still play a role in security. Think of it as a partnership: they provide the secure vault, but you need to make sure your shop's front door is locked.
Here are the essential security measures you are responsible for:
- Install an SSL Certificate: This is mandatory. It adds the "s" to "https" in your URL and displays a padlock icon in the browser, encrypting all data between your customer and your site. Platforms like the Solo AI Website Creator include an SSL certificate automatically.
- Enforce Strong Passwords: If you offer customer accounts, require users to create strong, unique passwords to prevent unauthorized access.
- Be Transparent with Policies: Clearly display your privacy and refund policies. This builds trust by setting clear expectations and can help reduce disputes and chargebacks.
Actionable Tip: A secure payment process creates a trustworthy experience. Every element, from the SSL certificate to your clear return policy, shows customers that you take their security seriously.
Spotting and Preventing Fraud
As a business owner, you are the first line of defense against fraud. You know what normal transaction patterns look like for your business.
Watch out for these red flags:
- Mismatched Addresses: Multiple orders using the same credit card but shipping to different addresses.
- Unusually Large Orders: A new customer placing an exceptionally large order, especially for high-demand products.
- Rapid-Fire Declines: A series of failed transaction attempts in a short period.
When you set up online payments, you open your business to a global audience. Cross-border payments are expected to reach $320 trillion by 2032. To tap into this growth, you need a secure and smart payment setup. For more tips, check out our guide on website security best practices.
The Final Check: Testing Your Payment Setup
You've chosen your provider and secured your site. Before you go live, it's crucial to run a final check. This last step ensures a smooth launch and prevents you from receiving emails from customers who are unable to pay.
Test Everything in Sandbox Mode
Before processing any real transactions, use your provider's sandbox or test mode. This is a simulated environment that lets you test your checkout process with fake credit card numbers without any real money changing hands.
In your provider's dashboard, switch from "Live Mode" to "Test Mode." Then, use the test credit card numbers provided in their documentation to run through your checkout process.
Here’s a quick testing checklist:
- Run a successful transaction. Go through the entire checkout process to ensure it works flawlessly.
- Simulate a failed payment. Use a test card number designed to be declined. Check that your site displays a clear and helpful error message.
- Try different card types. Use test numbers for Visa, Mastercard, and other card types to confirm your setup accepts them all.
Actionable Tip: Think of sandbox mode as a pre-flight check for your business. It allows you to identify and fix any issues before real customers—and their money—are involved.
Your Go-Live Checklist
Once you've tested everything in sandbox mode, it's time to go live. Switch your provider's dashboard back to "Live Mode" and run one final, real transaction using your own credit card for a small amount, like $1.00. You can refund it to yourself immediately. This confirms that everything is working correctly on the live network.
Here’s your launch-day checklist:
- Switch to Live Mode: Double-check that you are out of test mode in your provider's dashboard and that your live API keys are saved on your site.
- Check Confirmation Emails: After your $1.00 test purchase, confirm that both the customer (you) and the business owner (also you) received the correct confirmation emails.
- Verify in Your Dashboard: Log in to your payment provider's dashboard and ensure the transaction appears correctly with the right details.
Completing this process will give you the confidence to launch and start accepting payments without any stress.
Common Questions About Taking Payments Online
Here are answers to some of the most common questions about setting up online payments.
How Quickly Do I Get My Money?
The time it takes for money to transfer to your bank account is called the payout speed. In the U.S., a standard timeline is 2 business days. This means a sale made on Monday should appear in your account by Wednesday. Some providers, like Stripe, offer instant payouts for a small fee, which can be useful when you need funds quickly.
Are My Customer's Payment Details Safe?
Yes, as long as you use a reputable payment provider. When a customer enters their card details, the information is immediately encrypted and sent directly to the provider's secure servers.
Your website never stores the full credit card number. This is a critical security feature. Platforms like the Solo AI Website Creator come with built-in SSL security, and your payment provider handles PCI compliance, taking a significant security burden off your shoulders.
What Is a Chargeback and Why Should I Care?
A chargeback occurs when a customer disputes a charge with their bank, which then reverses the transaction. It's a consumer protection tool, but it can be a problem for business owners.
You should care because each chargeback typically comes with a non-refundable fee of $15-$25, which you may have to pay even if the charge was valid. The best way to prevent chargebacks is to keep detailed sales records, have a clear refund policy, and provide excellent customer service to resolve issues before they escalate.
Ready to turn your website into a sales engine? The Solo AI Website Creator makes it easy to integrate secure online payments, so you can focus on what you do best—running your business. Create your free website today at https://soloist.ai.
What do I need to set up online payments for my business?
You need a payment provider, your business and bank account information, and a way to connect the provider to your website. Most small businesses can use a provider that bundles the payment gateway and merchant account into one service, which makes setup much simpler.
What is the difference between a payment gateway and a merchant account?
A payment gateway is the secure technology that captures payment details on your site and sends them for approval. A merchant account is the account where money from successful transactions is held temporarily before it is transferred to your regular business bank account.
How do I choose the right payment provider?
Compare more than the headline transaction fee. Look at monthly fees, chargeback fees, payout speed, supported payment methods, and how easily the provider integrates with your website, since the right fit depends on your sales volume and how your customers prefer to pay.
What information is usually required to open a payment account?
Most providers ask for your legal business name, business address, phone number, tax ID such as an EIN, bank routing and account numbers, and personal details for identity verification. Matching your application details exactly to your official registration documents helps avoid delays.
How do I connect online payments to my website?
You usually connect your site by copying API keys from your payment provider dashboard into your website settings. The publishable key is used on the customer-facing side, while the secret key stays private on the backend and should never be shared publicly.
How can I reduce checkout friction and improve conversions?
Let customers pay with methods they already prefer and keep payment tied closely to the action they want to complete, such as booking a service or placing an order. A smooth, integrated checkout reduces abandonment and makes it easier for customers to finish the transaction in one step.