After you set up your Solo website, you can connect a custom domain that is personalized to your business. Websites with custom domains see more traffic and as a result more business! To connect a custom domain, follow the steps below.
As a reminder, connecting and hosting your custom domain with Solo is free!
- From the editor view of your website, click Settings
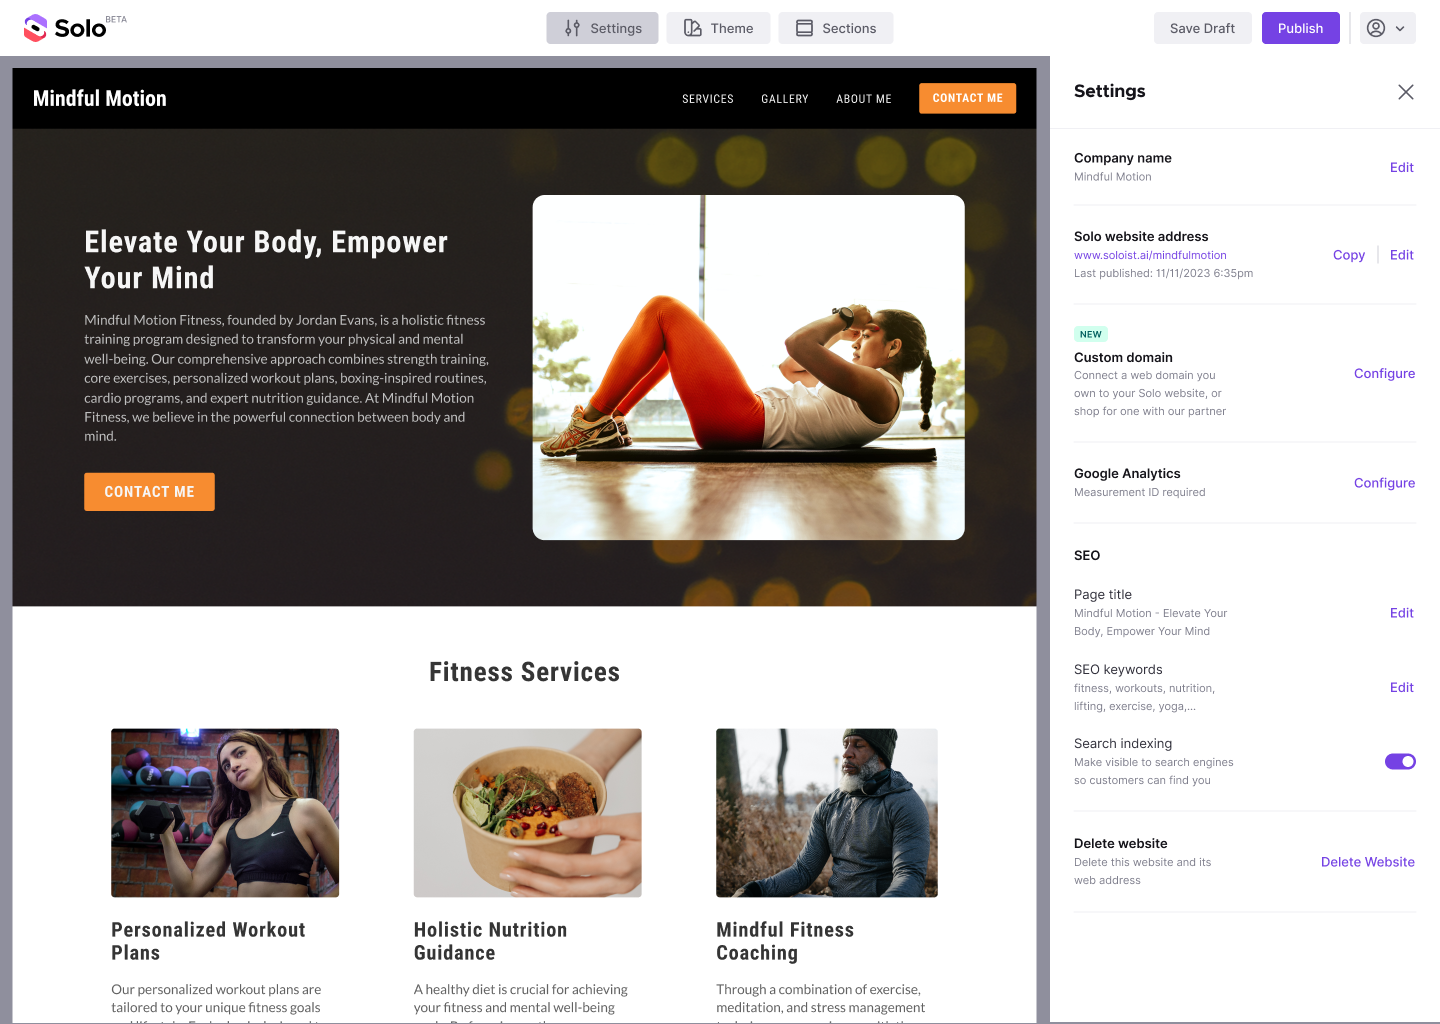
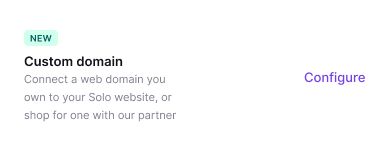
- Scroll to the ‘Custom domain’ section, in the panel on the right
- Click ‘Configure’
- You will now be presented with the option to connect an existing domain or purchase a new domain.
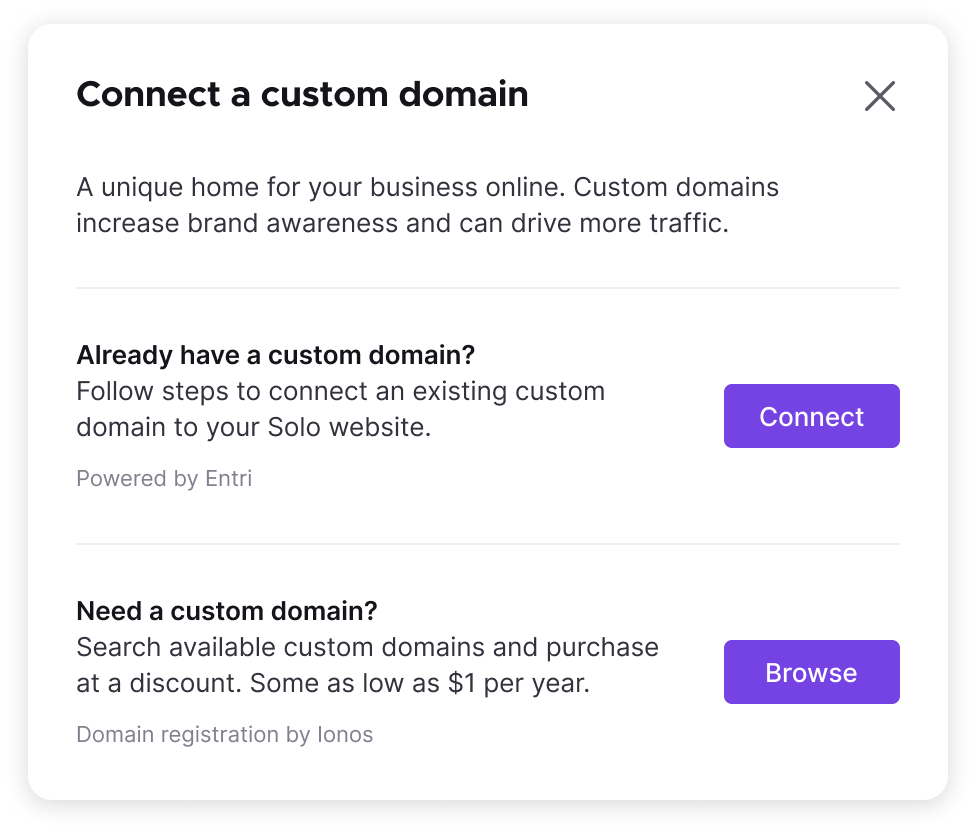
- If you have an existing domain, click Connect and then follow the steps provided. We will attempt to securely and automatically configure your domain for you and if unsuccessful, a manual option will be presented where you can enter the requisite DNS records into your registrar yourself or via help from a colleague. If you are connecting manually, please make sure to enter the A, TXT and CNAME record. If there are any existing A or AAAA records, you will need to delete those first. Existing TXT and CNAME records are fine as long as they are not duplicates.
6. Alternatively, if you want to purchase a domain, at step 4, you can instead click ‘Browse’ to see many domains offered at a significant discount.
If you have any troubles with this process, don’t hesitate to contact support@soloist.ai


